
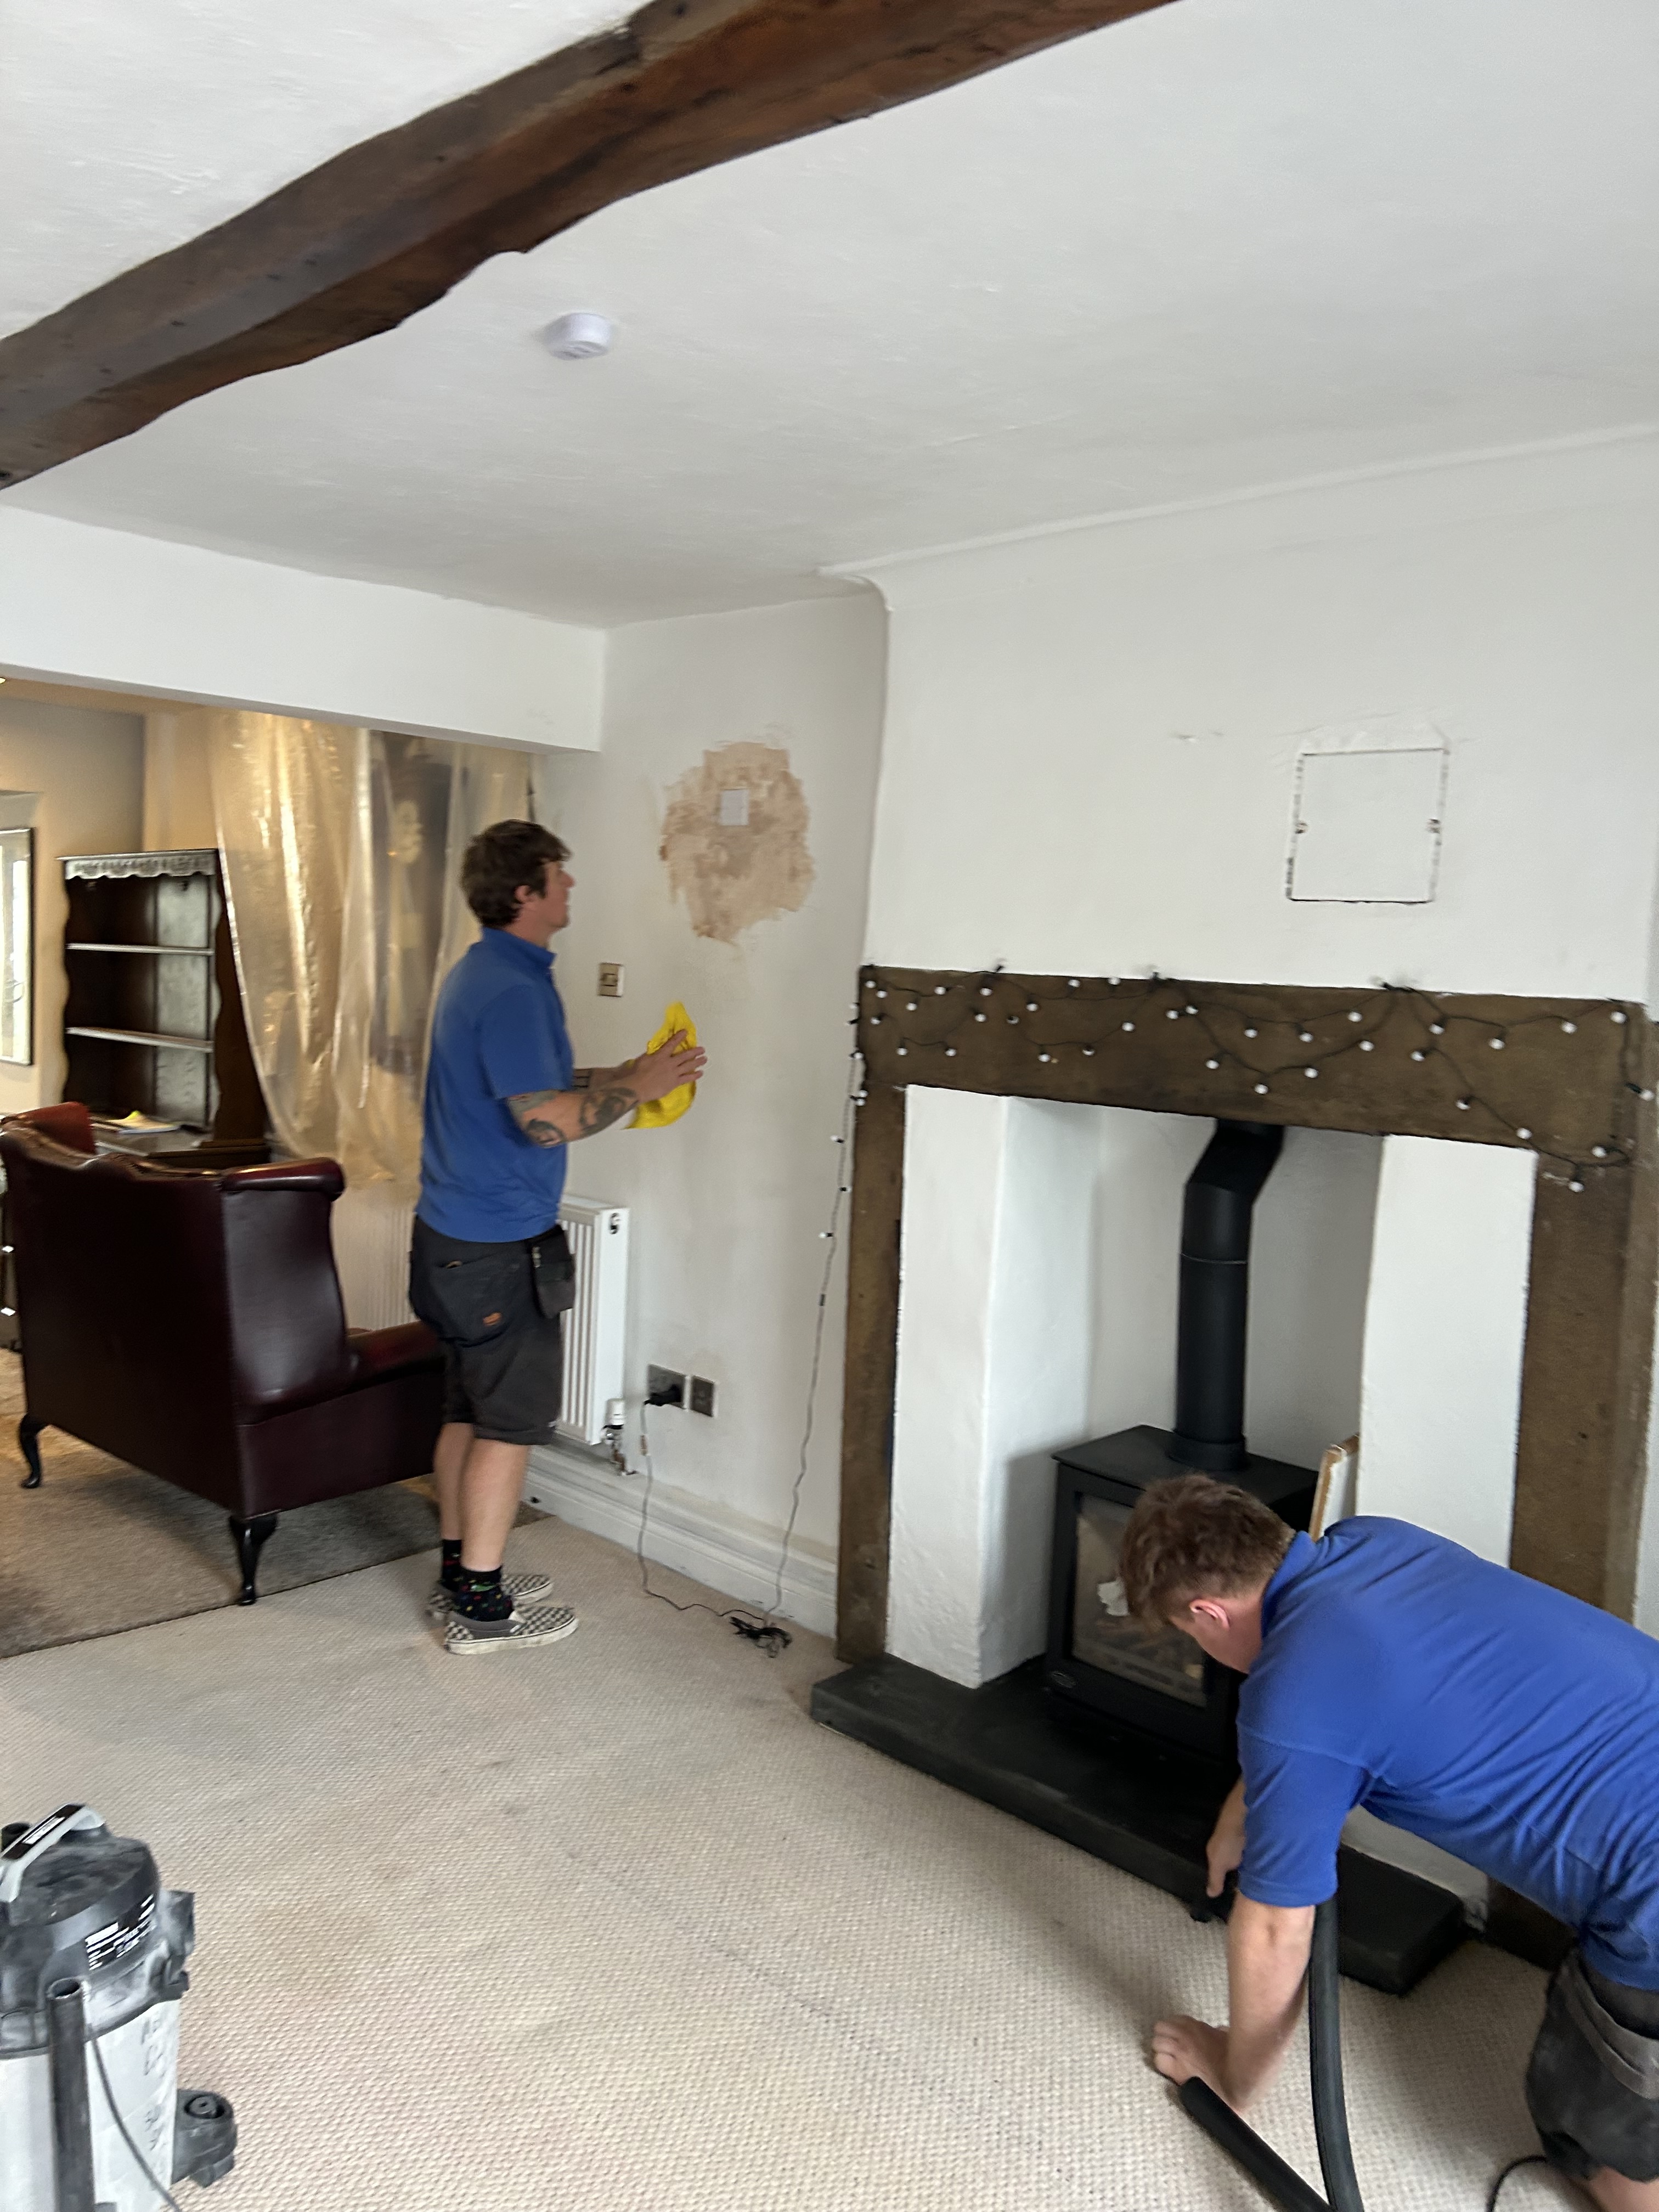
The rewiring has started !!!


Step-by-Step Process of the Rewire:
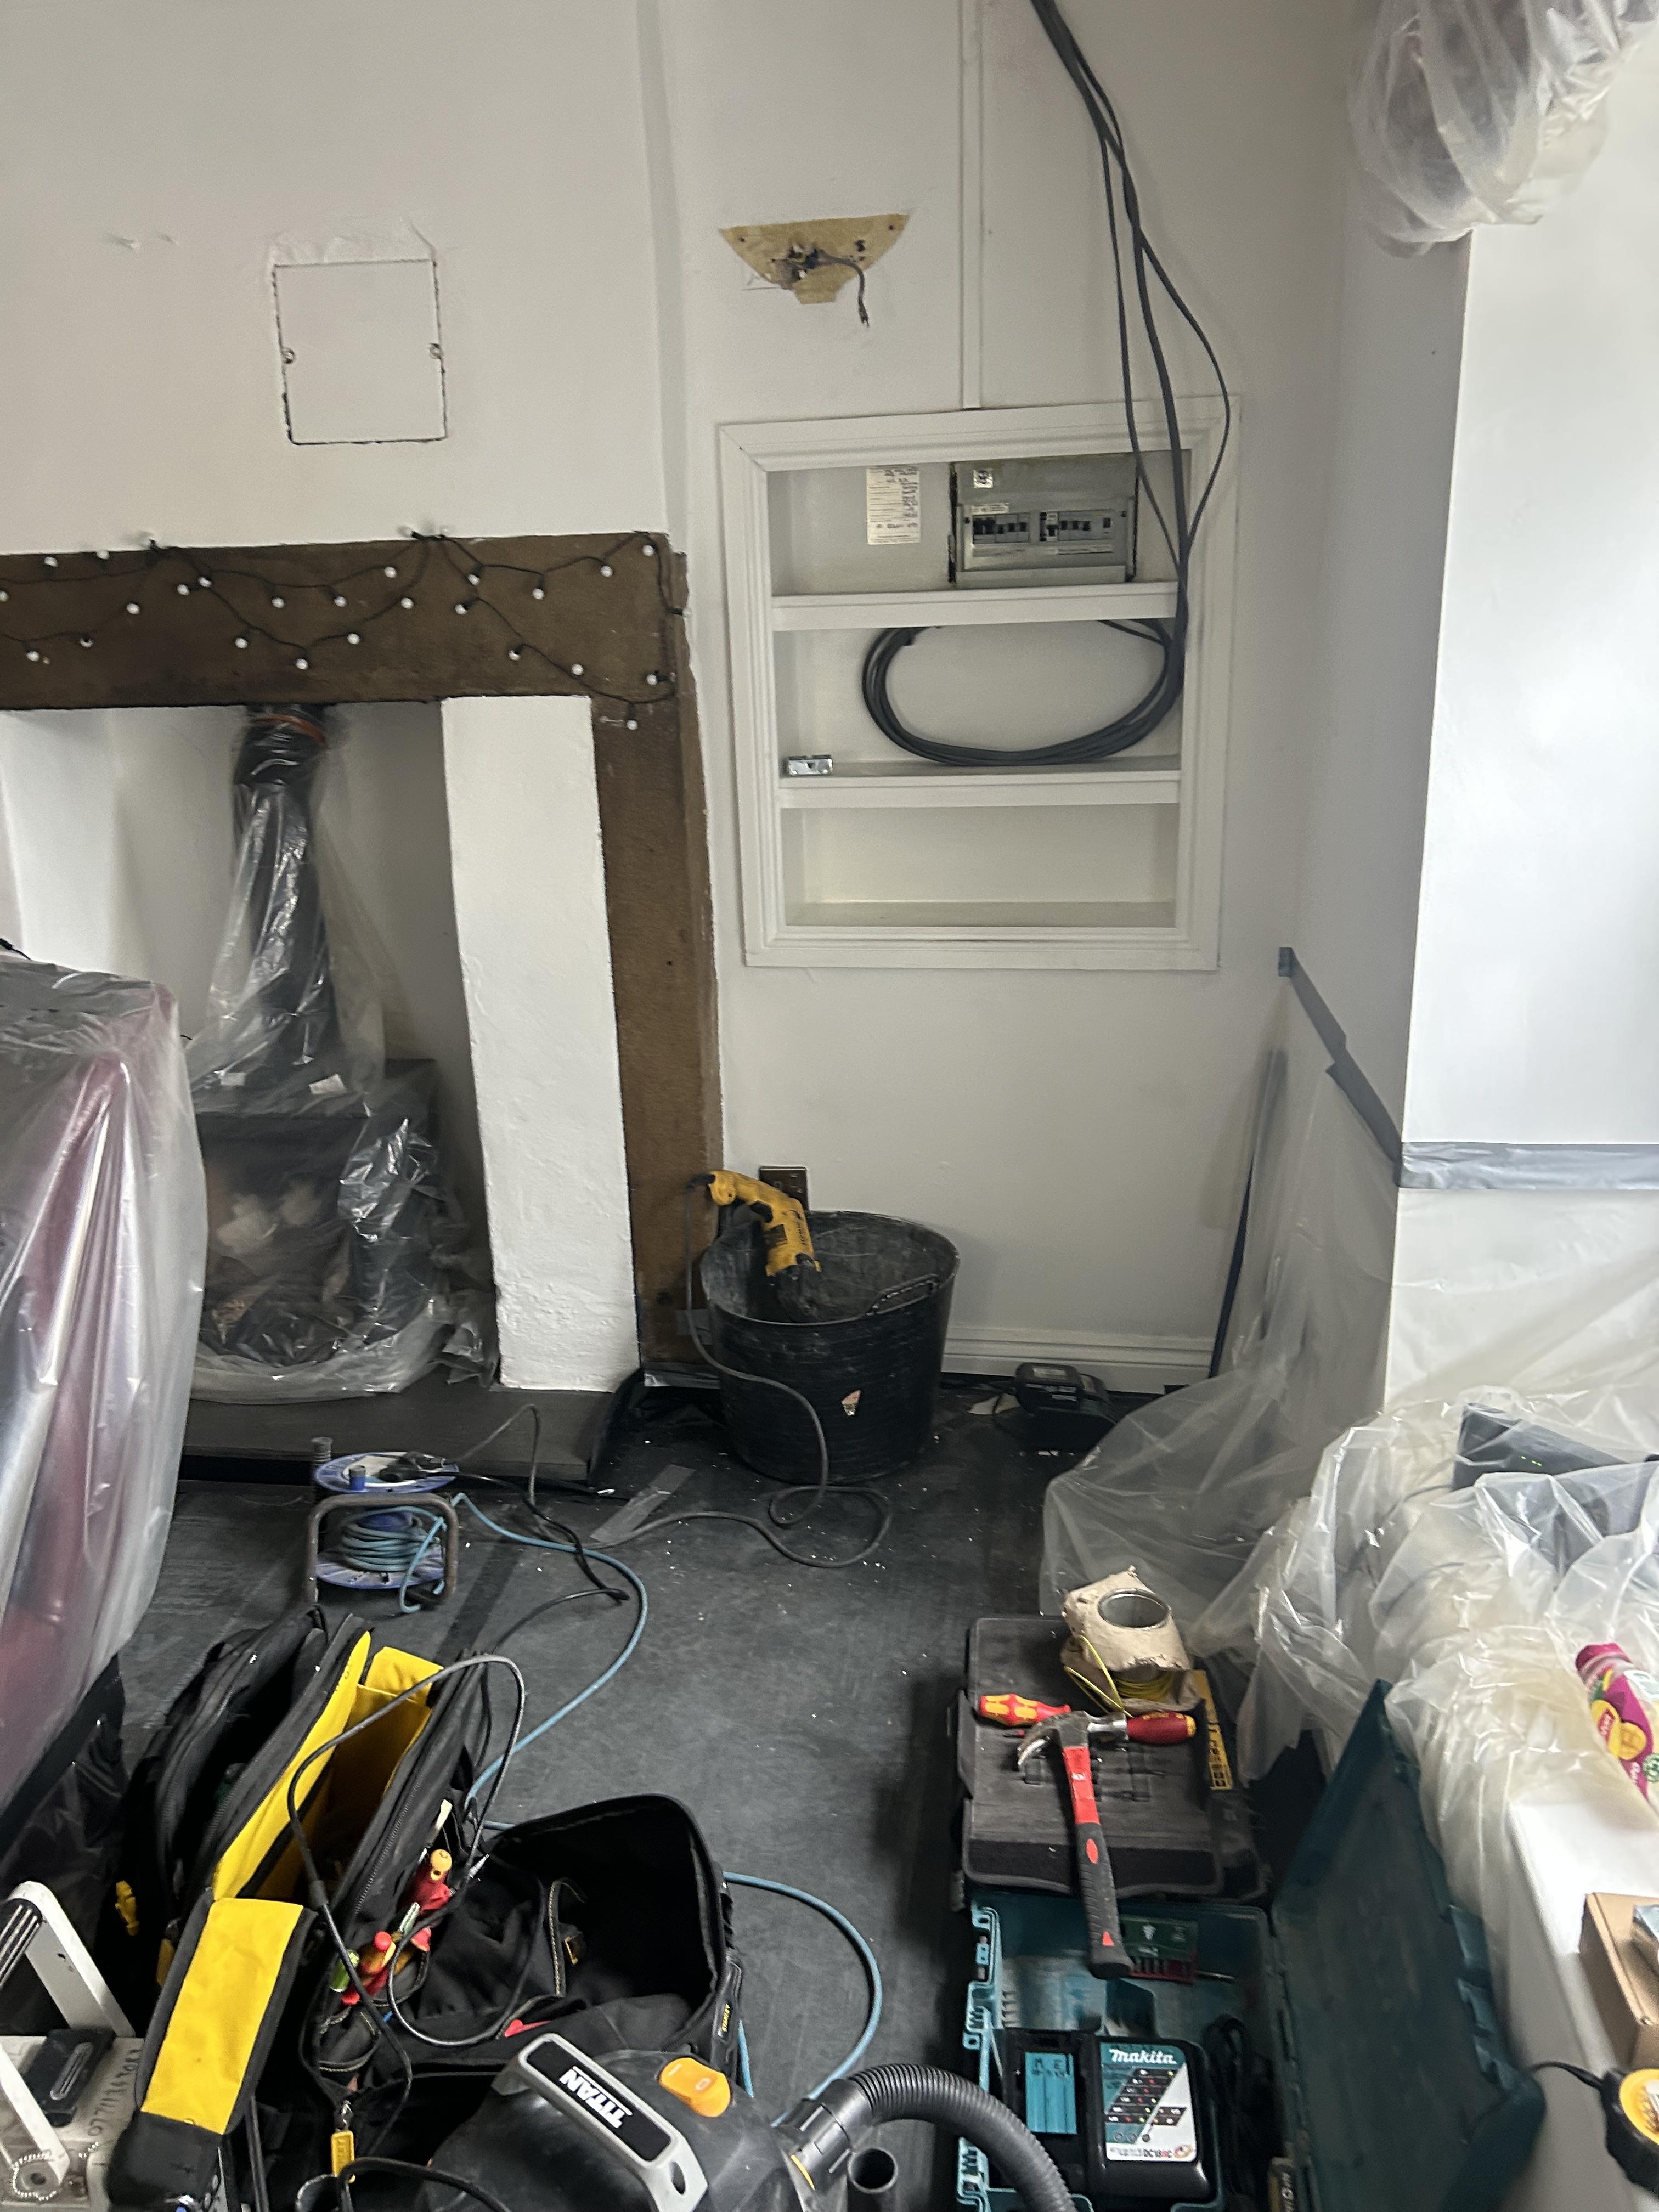
1. Floor Preparation:
- Start by putting down floor coverings to protect the existing flooring from any damage that may occur during the rewiring process.
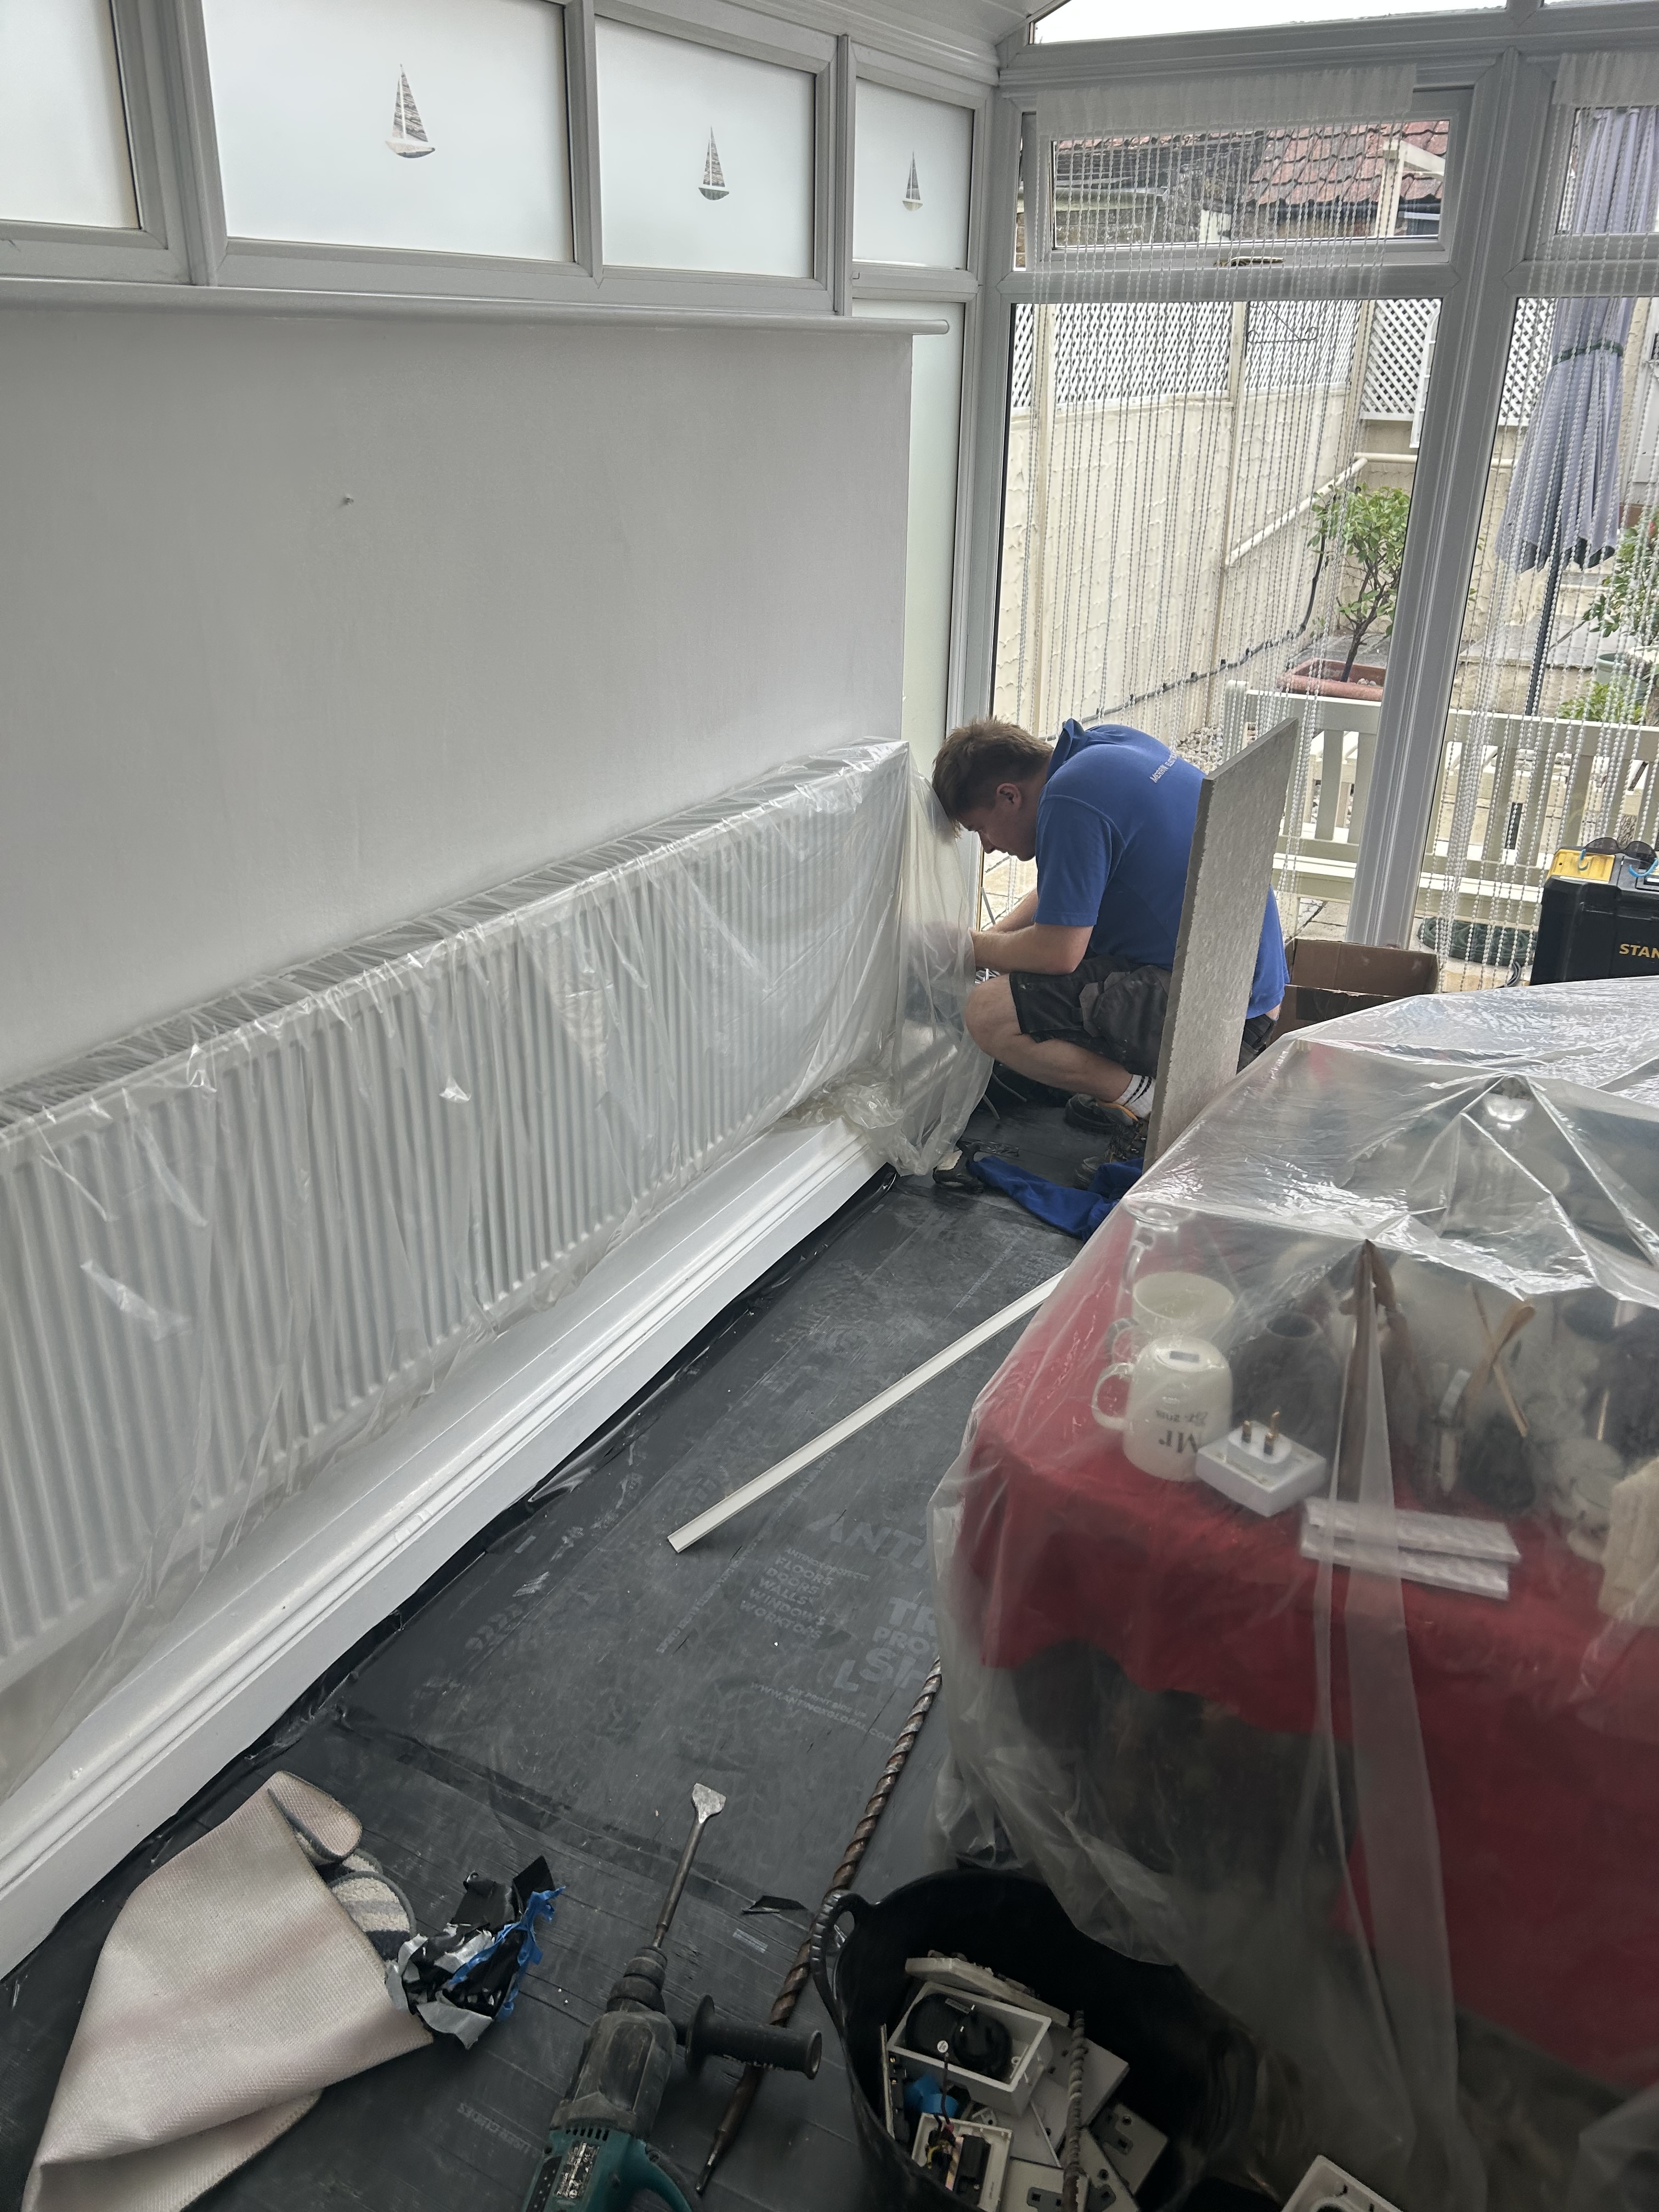
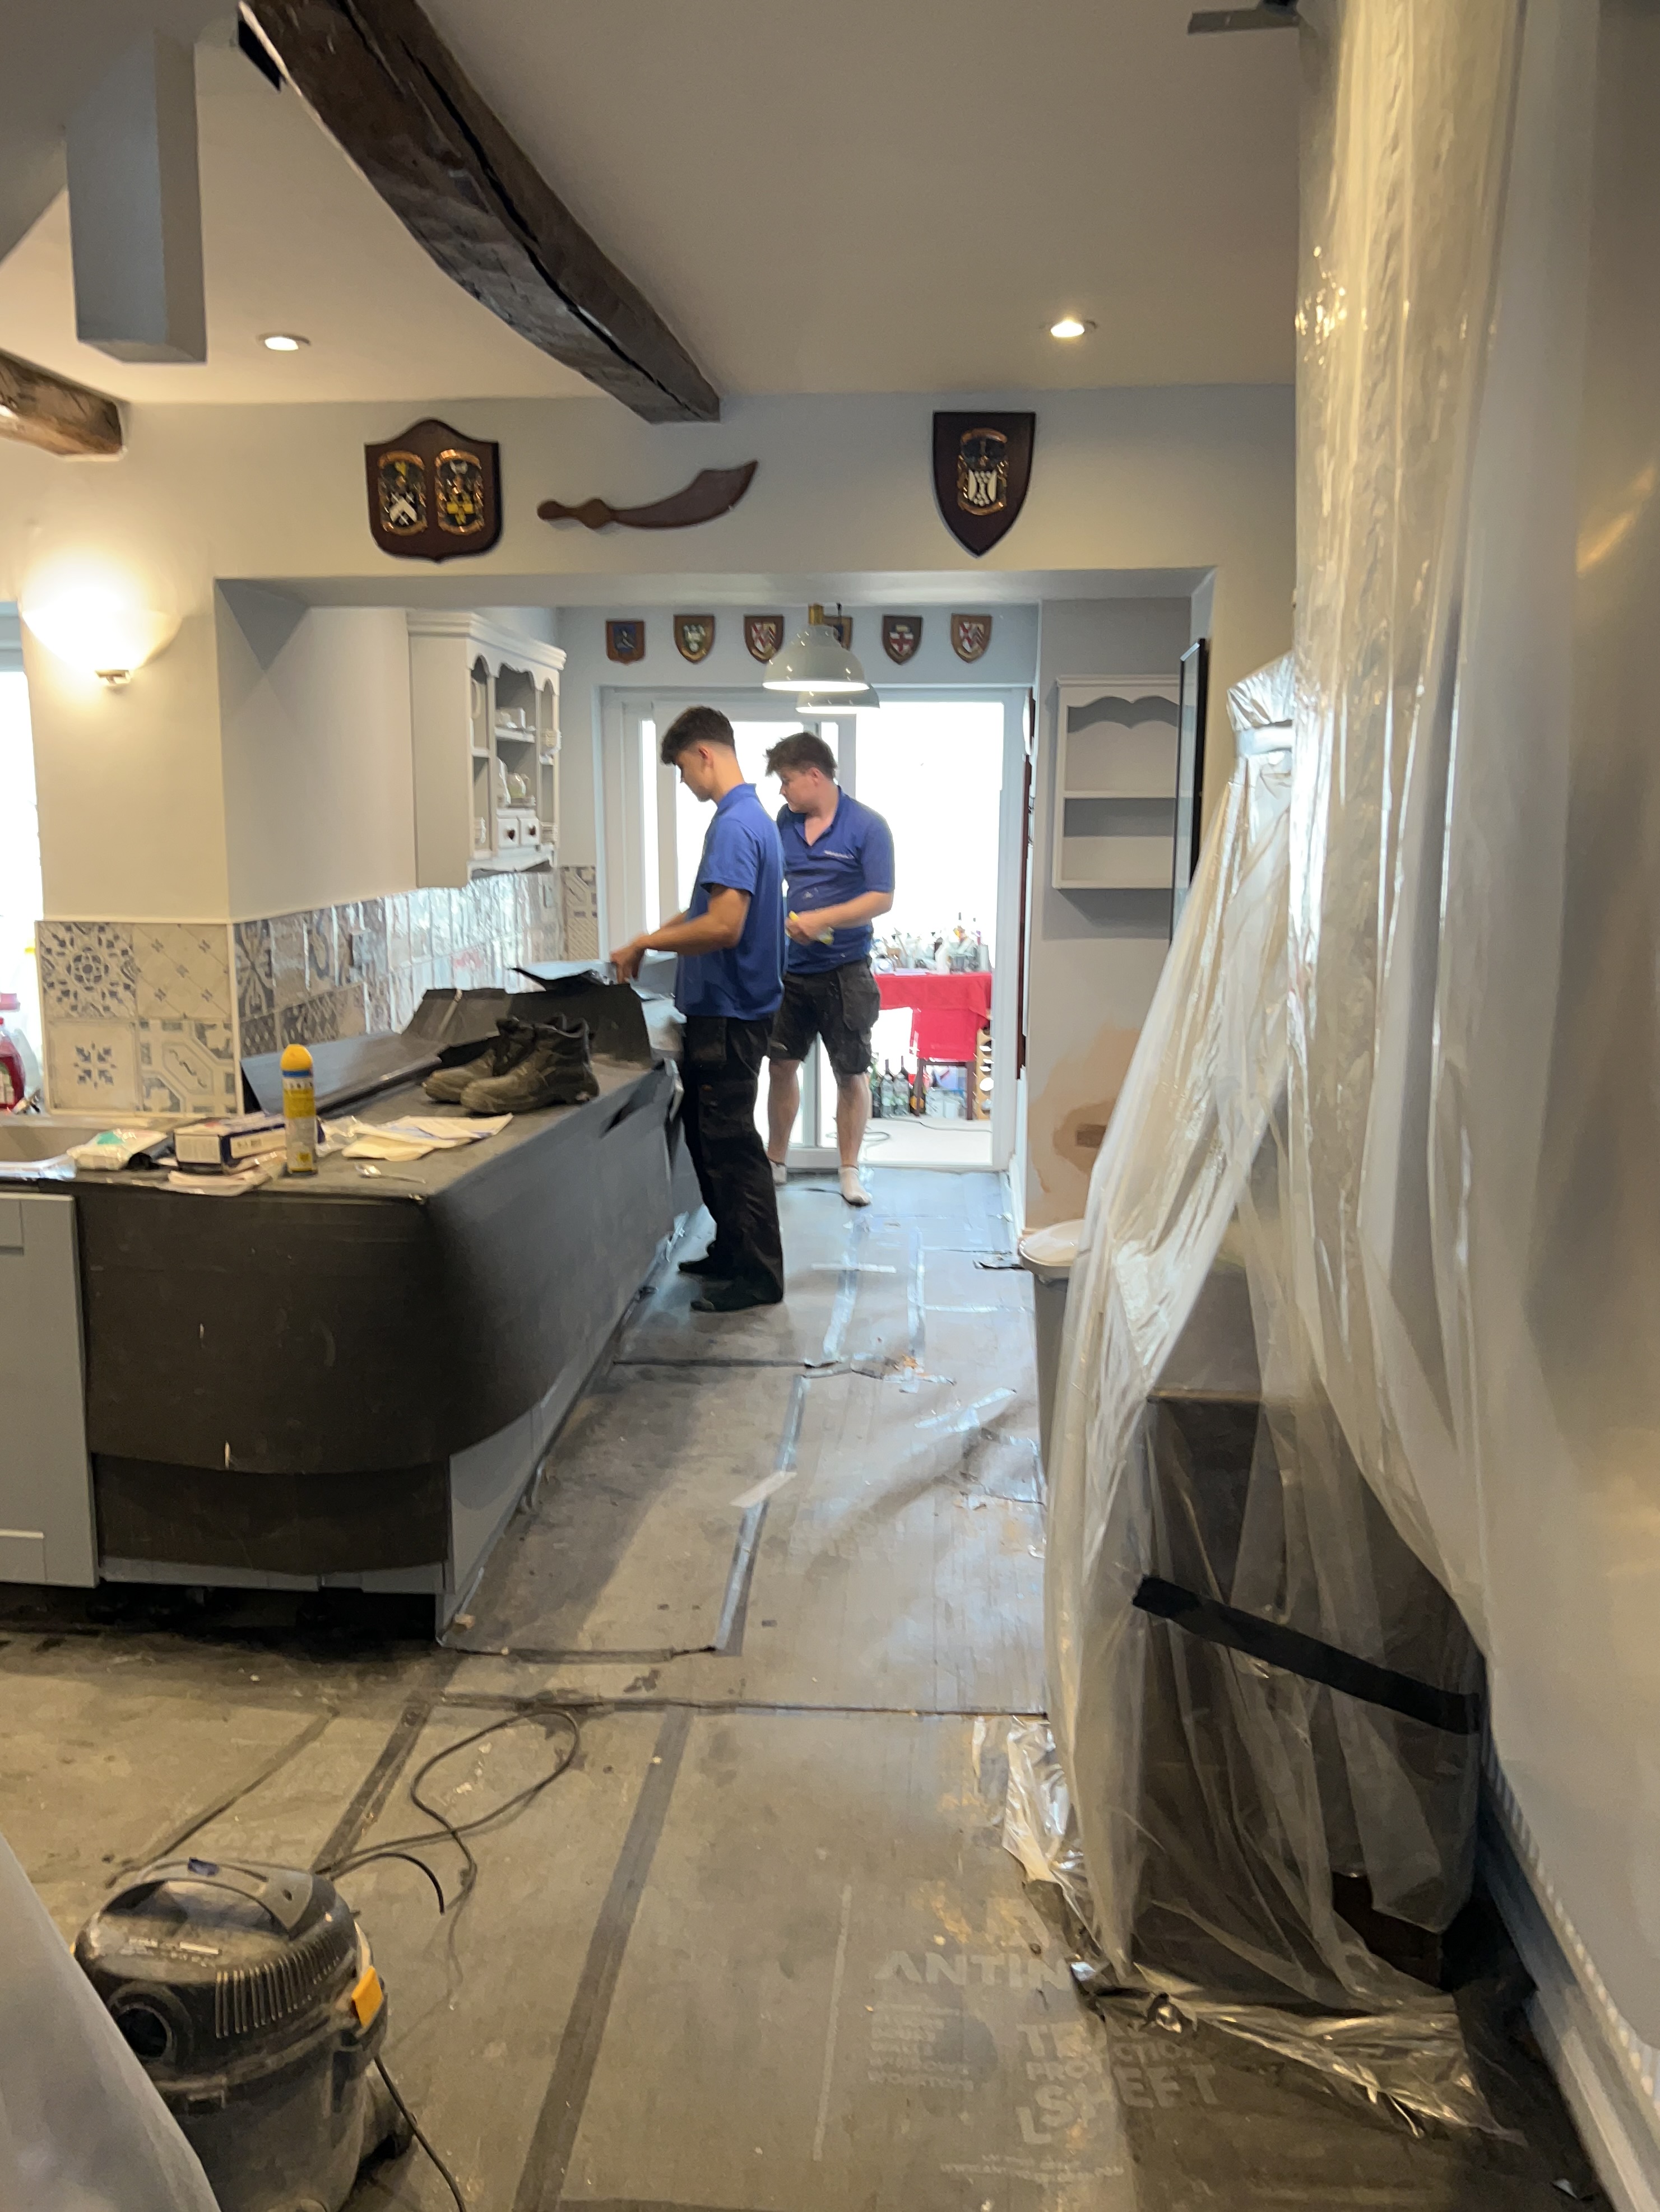
2. Furniture Protection:
- Wrap the furniture with plastic sheets to safeguard it from dust and debris. Carefully move the furniture to provide access to the floors and walls for wiring work.
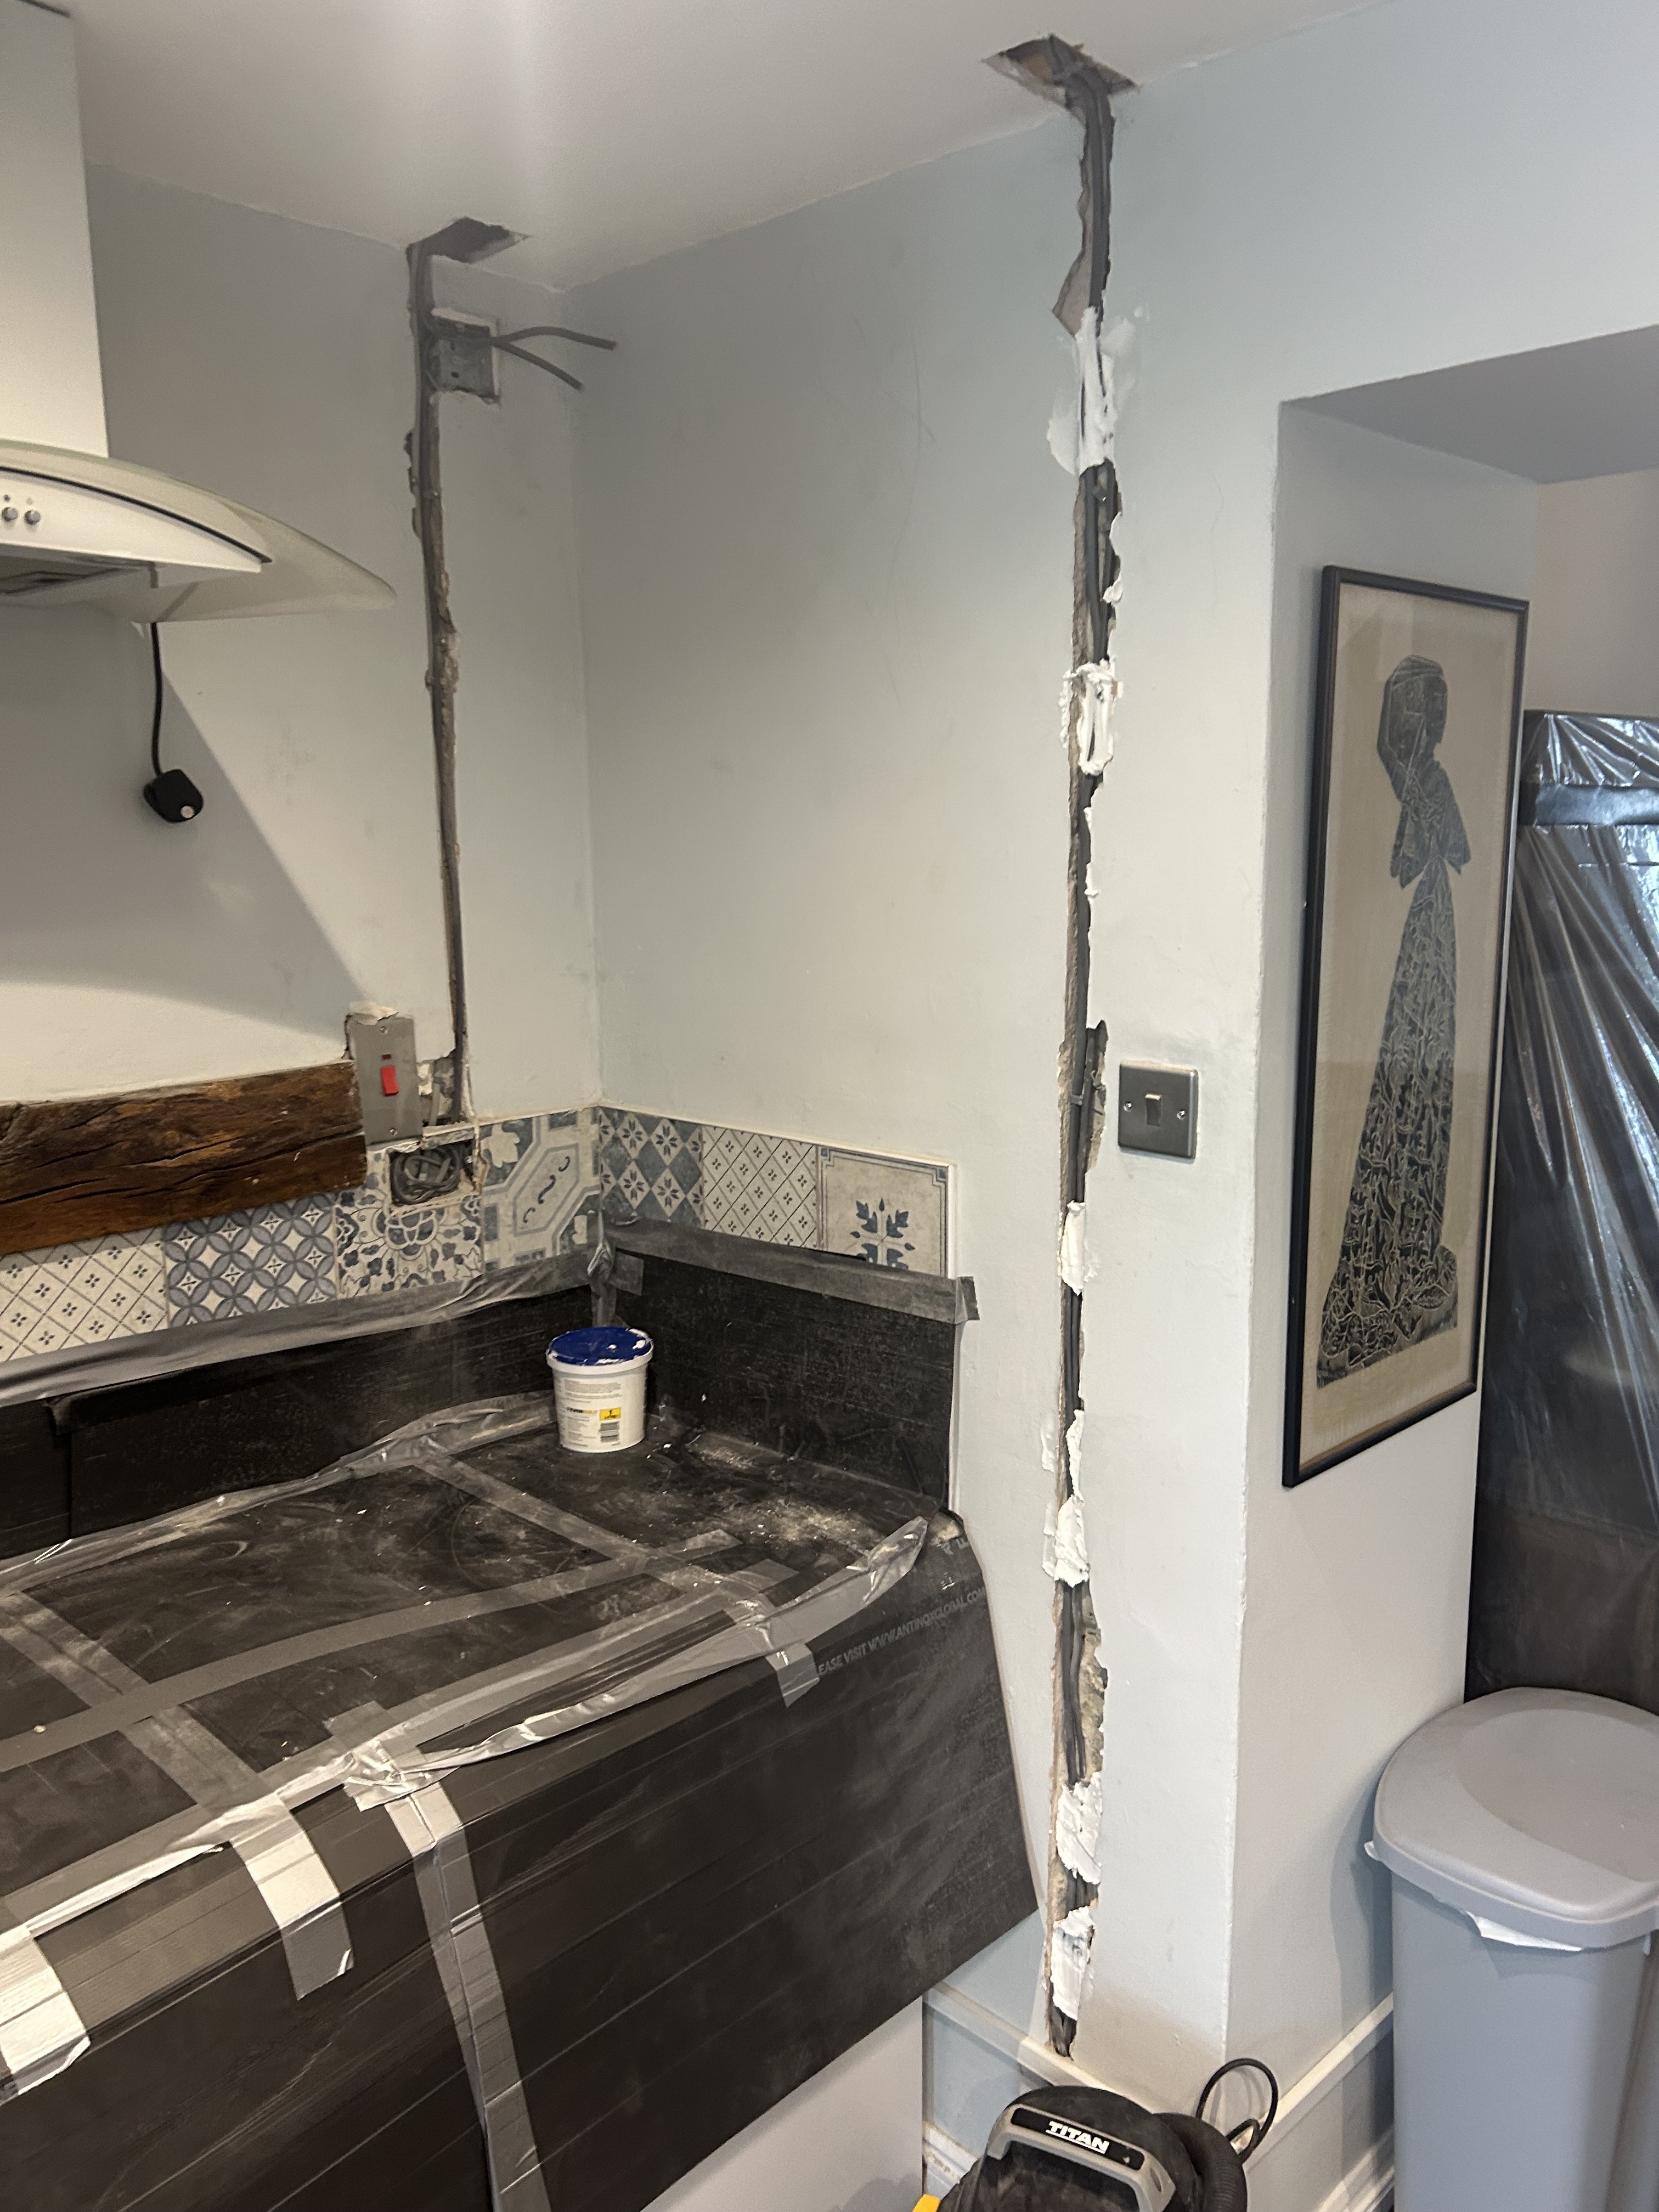
3. Wiring Preparation:
- With clear access to the walls and floors, begin chasing out the walls to create space for new wiring. Once complete, plaster back in the walls to ensure a seamless finish.
4. Electrical Component Installation:
- Fit the new electrical accessories as needed, such as outlets, switches, and light fixtures, according to the rewiring plan.
5. Testing and Certification:
- Conduct thorough testing of the circuits to ensure they are functioning correctly and safely. Obtain the necessary certification to confirm compliance with electrical standards upon completion.
6. Final Cleanup:
- After the rewiring work is finished, tidy up the work area to leave it in pristine condition. Ensure that the space is clean and organized as if no work had been done, providing a seamless transition for the homeowner.
By following this step-by-step process, the rewiring project can be carried out efficiently and effectively while ensuring the safety and satisfaction of the homeowner.